Guide
Why Plaster Walls Crack: 7 Common Causes & Fixes
Spotted a hairline crack snaking across the wall? A bulge that’s popped overnight? Or a chunk of plaster that’s just… missing? You’re not alone. Perth homes—old character cottages and newer builds alike—cop movement, heat, and the odd plumbing hiccup that can leave plaster lookin
Overview
Spotted a hairline crack snaking across the wall? A bulge that’s popped overnight? Or a chunk of plaster that’s just… missing? You’re not alone. Perth homes—old character cottages and newer builds alike—cop movement, heat, and the odd plumbing hiccup that can leave plaster looking tired.
This guide takes you beyond a quick patch-up. You’ll learn why plaster fails, what to use, how to fix it step-by-step, and when to call a pro. If you’re a homeowner, renovator, or a tradie tidying up between jobs, this one’s for you.
Good news: with a bit of prep, the right materials, and a clear process, repairing plaster walls is absolutely doable . Let’s get stuck in.
What Makes Plaster Different?
Before you grab a scraper, figure out what you’re working with:
Pro insight: “Most cracks we see are movement-related—heat, footing settlement, even slamming doors. Use the right compound and reinforce the joint and you’ll stop 90% of re-cracking.” — Aussie Plasterboard Trade Desk
Why it matters: Matching the repair compound to the original finish avoids future cracking, delamination, and weird textures after painting.
- Traditional lime plaster (pre-1940s) Breathable, flexible, slow to cure, commonly over timber lath or brick. Great heritage character, but more sensitive to moisture and movement.
- Gypsum plaster (mid-20th century onward) Faster setting, used widely across residential and commercial jobs, often over masonry or plasterboard substrates.
- Cement render (usually external or wet areas) Very hard and less forgiving—repairs need compatible products and good prep.
Common Crack Types and What They Mean
Before you work out why a wall cracked, work out what kind of crack you are looking at. The shape and location narrow the cause down faster than anything else.
- Hairline: fine surface lines from curing or seasonal movement. Usually cosmetic.
- Diagonal at doors and windows: stress concentrating at an opening. Worth monitoring closely.
- Stair-step: a zig-zag following masonry courses. Can indicate foundation movement.
- Vertical or horizontal: shrinkage, framing movement or moisture.
- Cornice and joins: where different materials meet , often humidity or an adhesion problem.
- Bulging or sagging with cracks: a red flag. The plaster may be detaching from its base.
Why Plaster Cracks and Fails
Red flags to investigate first: recurring bulges, damp staining, horizontal/stepped cracks, mould odour. Fix the cause (e.g., leak) before you repair the wall—or you’ll be back at it in a month.
- Building movement and settlement: seasonal expansion and contraction, a house settling, or load changes from a renovation.
- Reactive soils and footing movement: ground that swells and shrinks with moisture shifts the footings, and the walls telegraph it.
- Moisture: roof and gutter leaks, grout failures, burst pipes, rising damp, poor window sealing, or high indoor humidity.
- Poor bond or rushed application: the wrong mix, skipping priming and bonding between coats, or force-drying the work.
- Temperature and humidity swings: different materials expand at different rates, and the join between them gives first.
- Vibration: nearby construction, heavy traffic, or your own reno tools.
- Age and wear: older compounds lose flexibility, and repeated stress eventually shows.
How to Assess a Crack Before You Patch It
Before reaching for compound, take a moment to assess properly. Size, direction and location tell a story. A thin, stable hairline running randomly across a wall is usually cosmetic. A crack that widens at one end, continues through both paint and substrate, or runs from ceiling to floor suggests movement. Measure the width at its widest point, and look at the edges: clean edges point to shrinkage, crushed and uneven edges to movement.
Lighting helps. Shine a torch along the wall at a low angle to reveal ridges or bulges you cannot see straight on. Tap gently along the crack with your knuckles , a hollow sound means the plaster has separated from its base. If you suspect moisture, use a moisture meter and check the adjacent skirting and ceiling as well.
Timing matters too. Fresh cracks in a new build can be normal settlement, particularly in the first twelve months. But a crack that reopens after a proper repair is telling you the movement or moisture was never resolved.
Signs the Crack Is More Than Cosmetic
Treat a crack as more than cosmetic, and get it looked at, if it is:
Quick check kit: a ruler or crack gauge, a torch to rake light across the surface, and a moisture meter if you suspect a leak. Mark the end of the crack with a pencil and re-check it in two weeks , if the mark is still the end of the crack, the wall has stopped moving.
A careful assessment saves wasted effort. Cosmetic cracks need reinforcement and a proper finish. Structural or moisture-related cracks need the cause diagnosed first, then the repair.
- Wider than 2 mm, or spreading week to week
- Diagonal and near a door or window opening
- Paired with sticking doors, uneven floors or a sagging ceiling
- Accompanied by damp, bubbling paint or a musty smell
Tools & Materials (Perth-Ready Kit)
Tools
- Putty knife (25–50 mm) for tight spots and small cracks
- Jointing knife (150–300 mm) for feathering
- Hawk & trowel for larger patches
- Sanding block or pole sander (120–220 grit)
- Drill + paddle mixer for lump-free mixes
- Vacuum & drop sheets (dust control saves hours)
Materials
- Bonding agent (plaster primer/adhesive)
- Patching plaster or base coat + topping compound
- Mesh tape/scrim for cracks and joints
- Primer/sealer before paint
- Optional: setting compounds like Gyprock Base Coat 45 or USG Easy Sand for fast, sandable repairs; Gyprock TopCote Lite for feathering
Safety gear
Tip: For bathrooms and laundries, consider upgrading to James Hardie Villaboard ® (fibre cement) in problem zones—far better moisture resistance than standard plasterboard, and a longer-term fix for repeat issues.
- Gloves, P2 dust mask, and eye protection
Step-by-Step: Repairing Plaster Walls
1) Prep the Surface (Don’t Skimp)
- Scrape off loose, flaking, or hollow-sounding plaster.
- Undercut ragged edges slightly with a sharp knife to create a recess.
- Vacuum dust, then wipe lightly damp. Dry, dusty surfaces = poor adhesion.
2) Apply Bonding Agent
Why this matters: Bonding bridges old and new. Skip it and the patch can shear off within months.
- Brush or roll on evenly, paying attention to edges and porous areas.
- Let it turn tacky (follow the label). Some substrates need two coats.
3) Reinforce & Fill
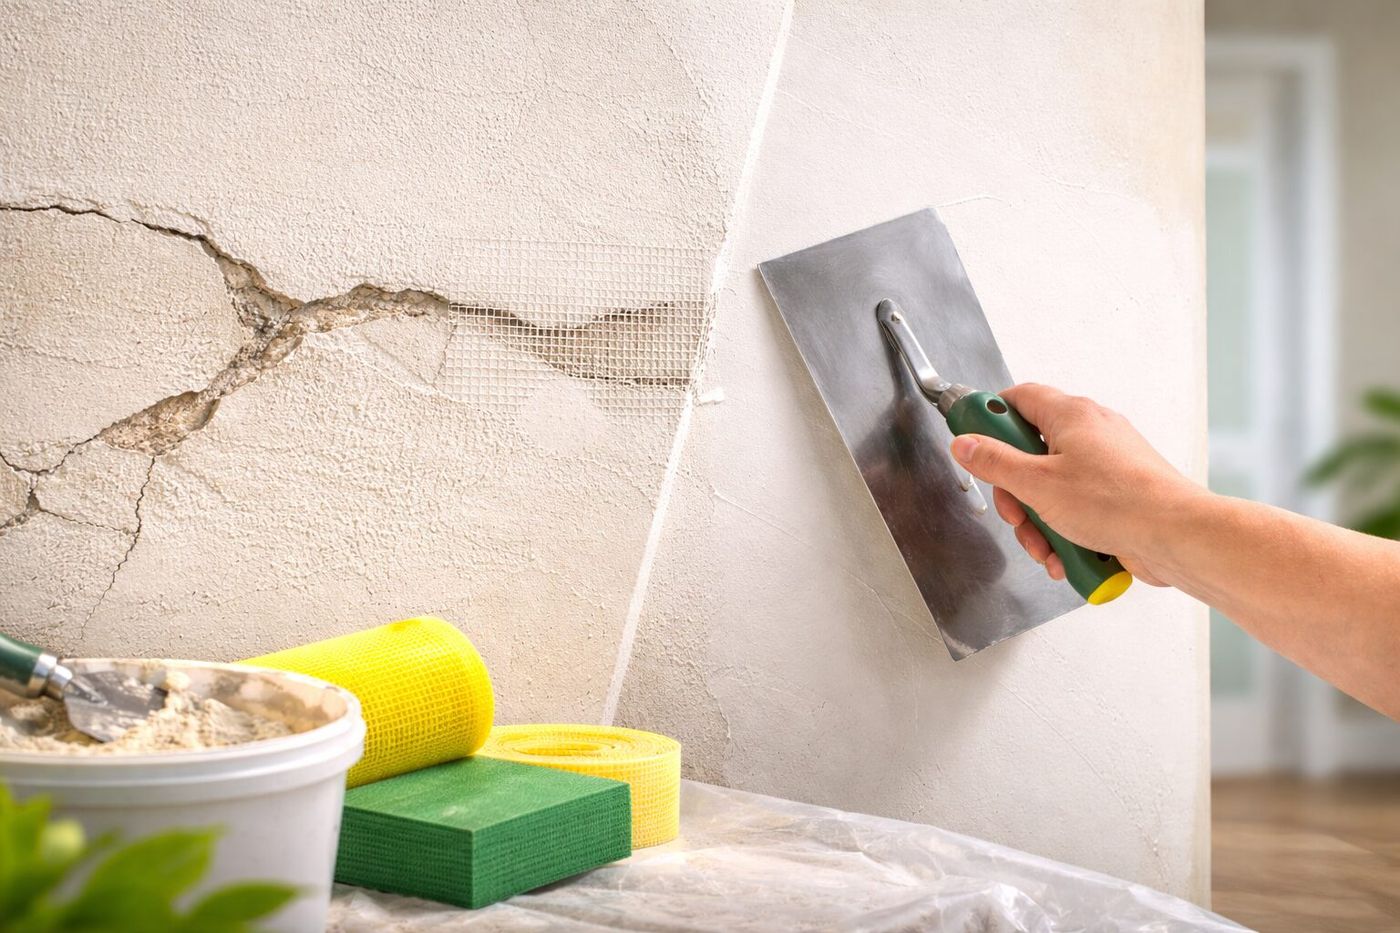
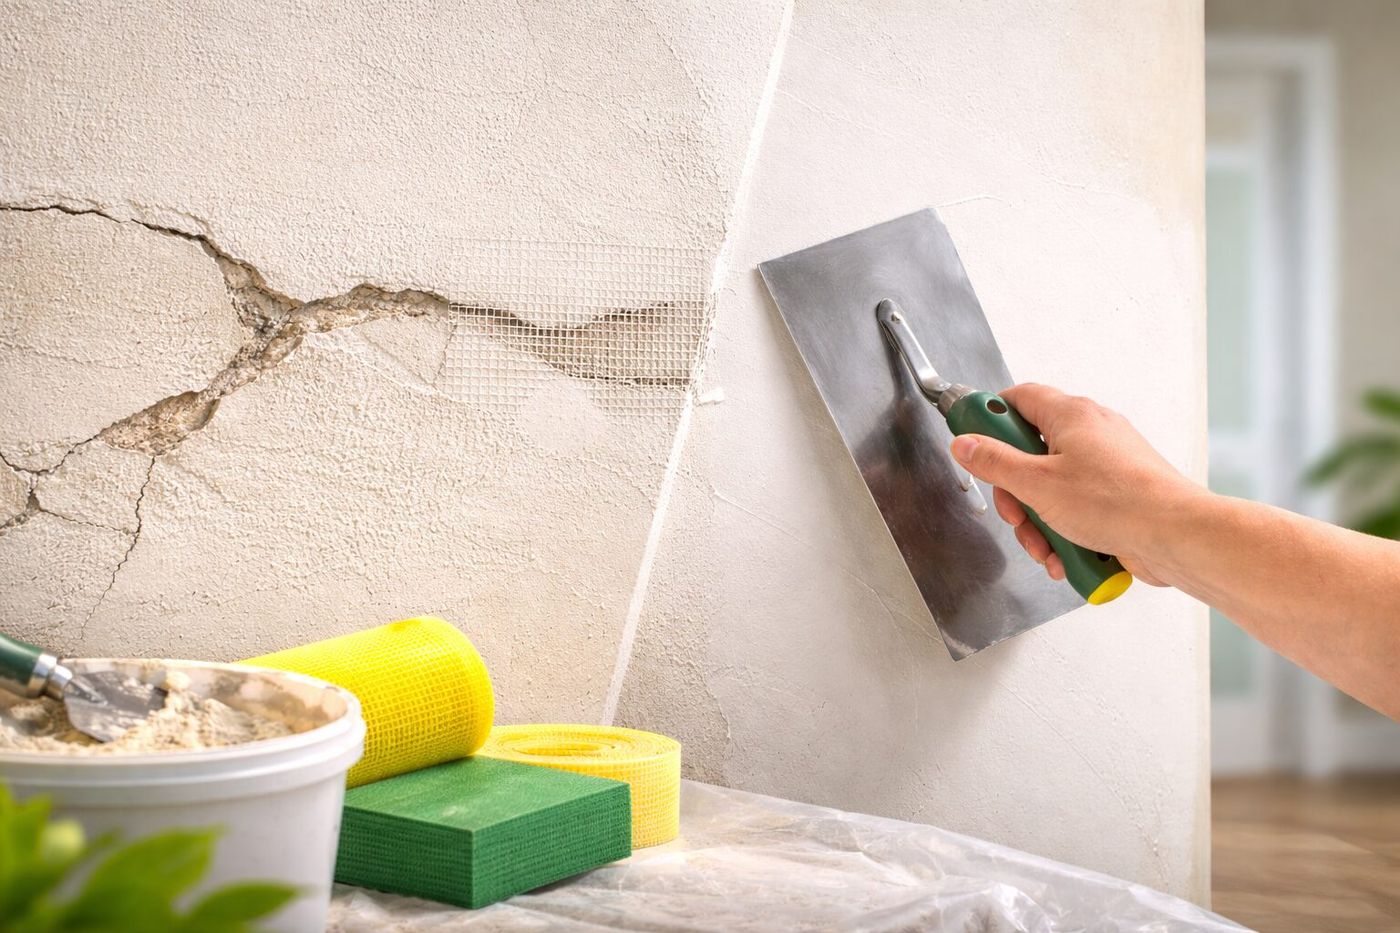
- For cracks, apply mesh tape centred over the crack.
- Mix your base/setting coat to a thick, creamy consistency— not soupy .
- Press the first coat firmly into the recess/joint.
- Deep holes: build in layers. Fill to ~½ depth, let set, then top up.
4) Level & Feather
Blending rule: the wider you feather, the less you’ll see it once painted.
- After set, apply a wider topping coat , feathering 100–150 mm beyond the patch.
- Lightly sand when dry. Use a straightedge or raking light to check for dips.
- Match texture (if any) with a damp sponge or stipple while the surface is still green.
5) Prime & Paint (The Calm Finish)
- Apply a sealer/primer (or mist coat: 70% paint / 30% water for fresh plaster).
- Finish with two top coats , allowing proper dry time.
- For colour sensitivity, roll corner-to-corner on the wall to disguise blend lines.
Avoid These Common Mistakes
- Skipping prep/primer: leads to poor adhesion and early failure.
- Using the wrong filler: Silicone, spackle, or gap-fillers don’t sand/hold like plaster.
- One heavy pass: Over-build shrinks and cracks— layer it .
- Over-sanding: Creates dips and exposes mesh. Sand just enough.
- Painting too early: Traps moisture and blisters. Respect set & dry times.
- Ignoring the cause: Fix leaks/movement first.
Quick Checklist (Save to Notes)
- Surface scraped, undercut , cleaned, and bonded
- Cracks bridged with mesh/scrim
- Built in thin layers , fully set between coats
- Feathered wide ; no ridges or dips under raking light
- Primed/sealed before top coats
- No signs of moisture or mould returning
How Long Will This Take?
For more information, visit: Bunnings: How to fix cracks in plaster
- Hairline cracks: 1–2 hours active time across a day (allow for set & dry)
- Small holes (e.g., door handle dings): Half-day including paint touch-up
- Larger patches: 1–2 days with staggered coats and proper dry times
When to Call a Pro
We can help. Aussie Plasterboard supplies the right compounds, tapes, and boards—and can connect you with trusted local plasterers across Perth. Call (08) 9244 4250 or drop by for product advice and referrals.
For more information, visit:
- The wall sounds hollow over a large area
- Recurring cracks after you’ve repaired properly
- Bulges/sagging ceilings , or widespread crumbly plaster
- Visible water damage or damp patches
- Heritage lime plaster you want to match exactly
Moisture-Resistant Plasterboard For Commercial Wet Areas
WA-Specific Notes (Read Before You Start)
- Heat & movement: Perth’s hot summers = expansion. Reinforcement and flexible topcoats help reduce re-cracking.
- Wet areas: In bathrooms/laundries, repairing plaster may be short-lived if moisture persists. Consider Villaboard® or compliant wet-area linings.
- Older linings caution: If you suspect asbestos in very old cement sheeting (pre-1990), do not disturb —seek licensed assessment before cutting/sanding.
Preventing Cracks Before They Start
Most of what makes plaster crack is avoidable, and none of it is expensive to get right the first time.
Pro tip: fix the cause , moisture, vibration, movement , before the cosmetic patch, or the crack will be back.
- Install it right: allow proper curing between coats and never force-dry with heaters.
- Manage humidity: run exhaust fans, ventilate wet areas, and consider a dehumidifier in a room that stays damp.
- Fix water issues early: keep roofs, flashings and gutters sorted, and direct water away from the slab.
- Plan renovations with the structure in mind: get advice before removing walls or adding a storey.
- Use expansion joints on long wall runs and large ceilings so seasonal movement has somewhere to go.
Related Solutions & Products (in-store)
- Mesh tapes/scrim (50 mm & 100 mm)
- Setting base coats (e.g., Gyprock Base Coat 45 )
- Lightweight topping compounds (e.g., TopCote Lite , USG Sheetrock finish)
- Bonding/primers for plaster
- James Hardie Villaboard® for wet-area upgrades
Restoring Confidence in Your Walls
Plaster repairs look daunting, but with the right prep, reinforcement, and a tidy finishing process, you’ll get a clean, long-lasting result. DIY isn’t about shortcuts—it’s about doing it properly , and knowing when to tag in a pro.
Got a question about your wall, moisture issues, or which compound to use? Call (08) 9244 4250 or send us a photo —our team at Aussie Plasterboard (Perth) will point you to the right gear (and a great local plasterer if you need one).
FAQ
What’s the best compound for quick repairs?
A setting base coat like Base Coat 45 or Easy Sand sets fast and sands clean. Top with a lightweight finishing compound for smooth feathering.
Do I need mesh tape on every crack?
For hairlines you can skim, but mesh dramatically reduces the chance of the crack returning—so we recommend it.
Why is my patch flashing through paint?
Usually inadequate priming or too-narrow feathering. Prime/seal first and feather wider.
Can I just use gap filler?
Not for plaster repairs. Gap fillers remain rubbery and don’t sand well. Use plaster-based compounds.